The Supplier (Vendor) module is the master data hub for all of the company's suppliers or vendors. This is where you can create new supplier data, view, edit, and manage their complete information, ranging from address and contact details to tax information and payment terms. Accurate data in this module is crucial for the smooth operation of the entire procure-to-pay cycle.
1. Main View (Supplier List)
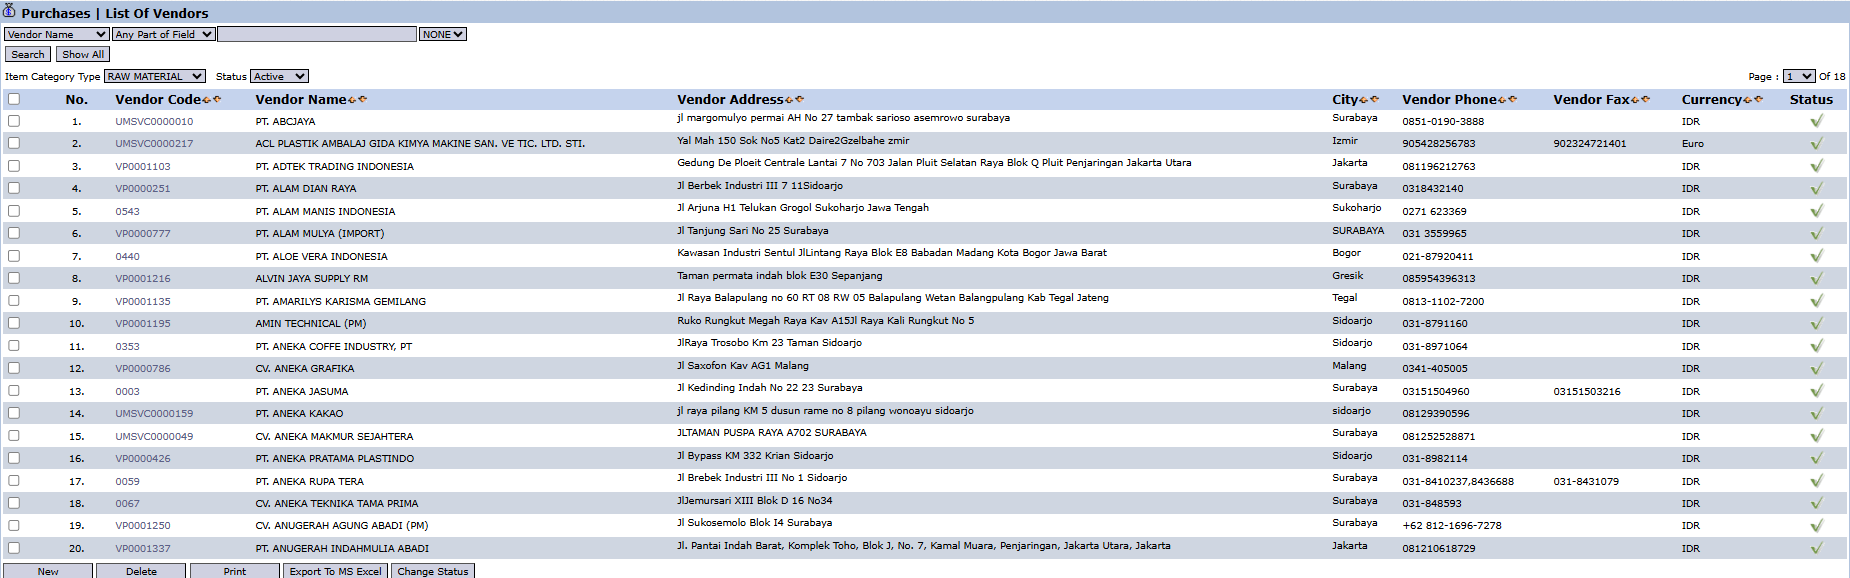
The main page of this module displays a list of all suppliers registered in the system.
View Explanation & Filters
This page is for viewing and managing all supplier master data.
Filters: You can search for a specific supplier using the search bar at the top or filter the list by Item Category and Status.
Supplier List: The table below displays a summary of each supplier, with columns such as Vendor Code, Vendor Name, Vendor Address, City, and Status.
Button Functions
New: The primary button to create new supplier data.
Delete: To delete selected supplier data.
Print: To print the details of selected supplier data.
Export To MS Excel: To download the supplier list into an Excel format.
Change Status: To change the status of a selected supplier (e.g., from active to inactive).
2. Steps to Manage Supplier Data
The following is the complete workflow for registering a new supplier.
Step 1: Create a New Supplier
From the Main View, click the New button to open the New Vendor form.
Step 2: Fill in Main Supplier Details
Fill in all the relevant information on the form that appears. Fields marked with (*) are mandatory.
General Information: Fill in the Vendor Code (if not automatic), Name (Supplier Name), and select the appropriate Vendor Category.
Tax & Bank Information: Complete important data such as Tax File Number, Document NPWP (Tax ID Document), Bank Name, and Bank Account.
Contact Information: Enter the Email Address, Website, Address, City, and Phone.
Purchasing Information: Set terms such as Lead Time and Due Day (Payment Due Day).
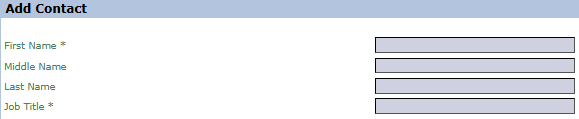
Step 3: Add a Contact Person
To add a contact person from the supplier's side:
Fill in the contact person's details such as First Name, Last Name, Job Title, and Email Address. Check the Billing PIC (Person In Charge) box if this person is responsible for billing matters from the supplier's side.
Click Save to save the contact and return to the main supplier form.
Tips & Important Notes
Ensure you fill in the Vendor Category correctly as this will affect the default accounting settings for that vendor.
Accurately filling in the Bank Account data is crucial for a smooth payment process in the Accounts Payable Module.
The Change Status button on the main page is used to change a vendor's status, for example, from 'Potential' to 'Active' or 'Blacklist'.


No comments to display
No comments to display